Description
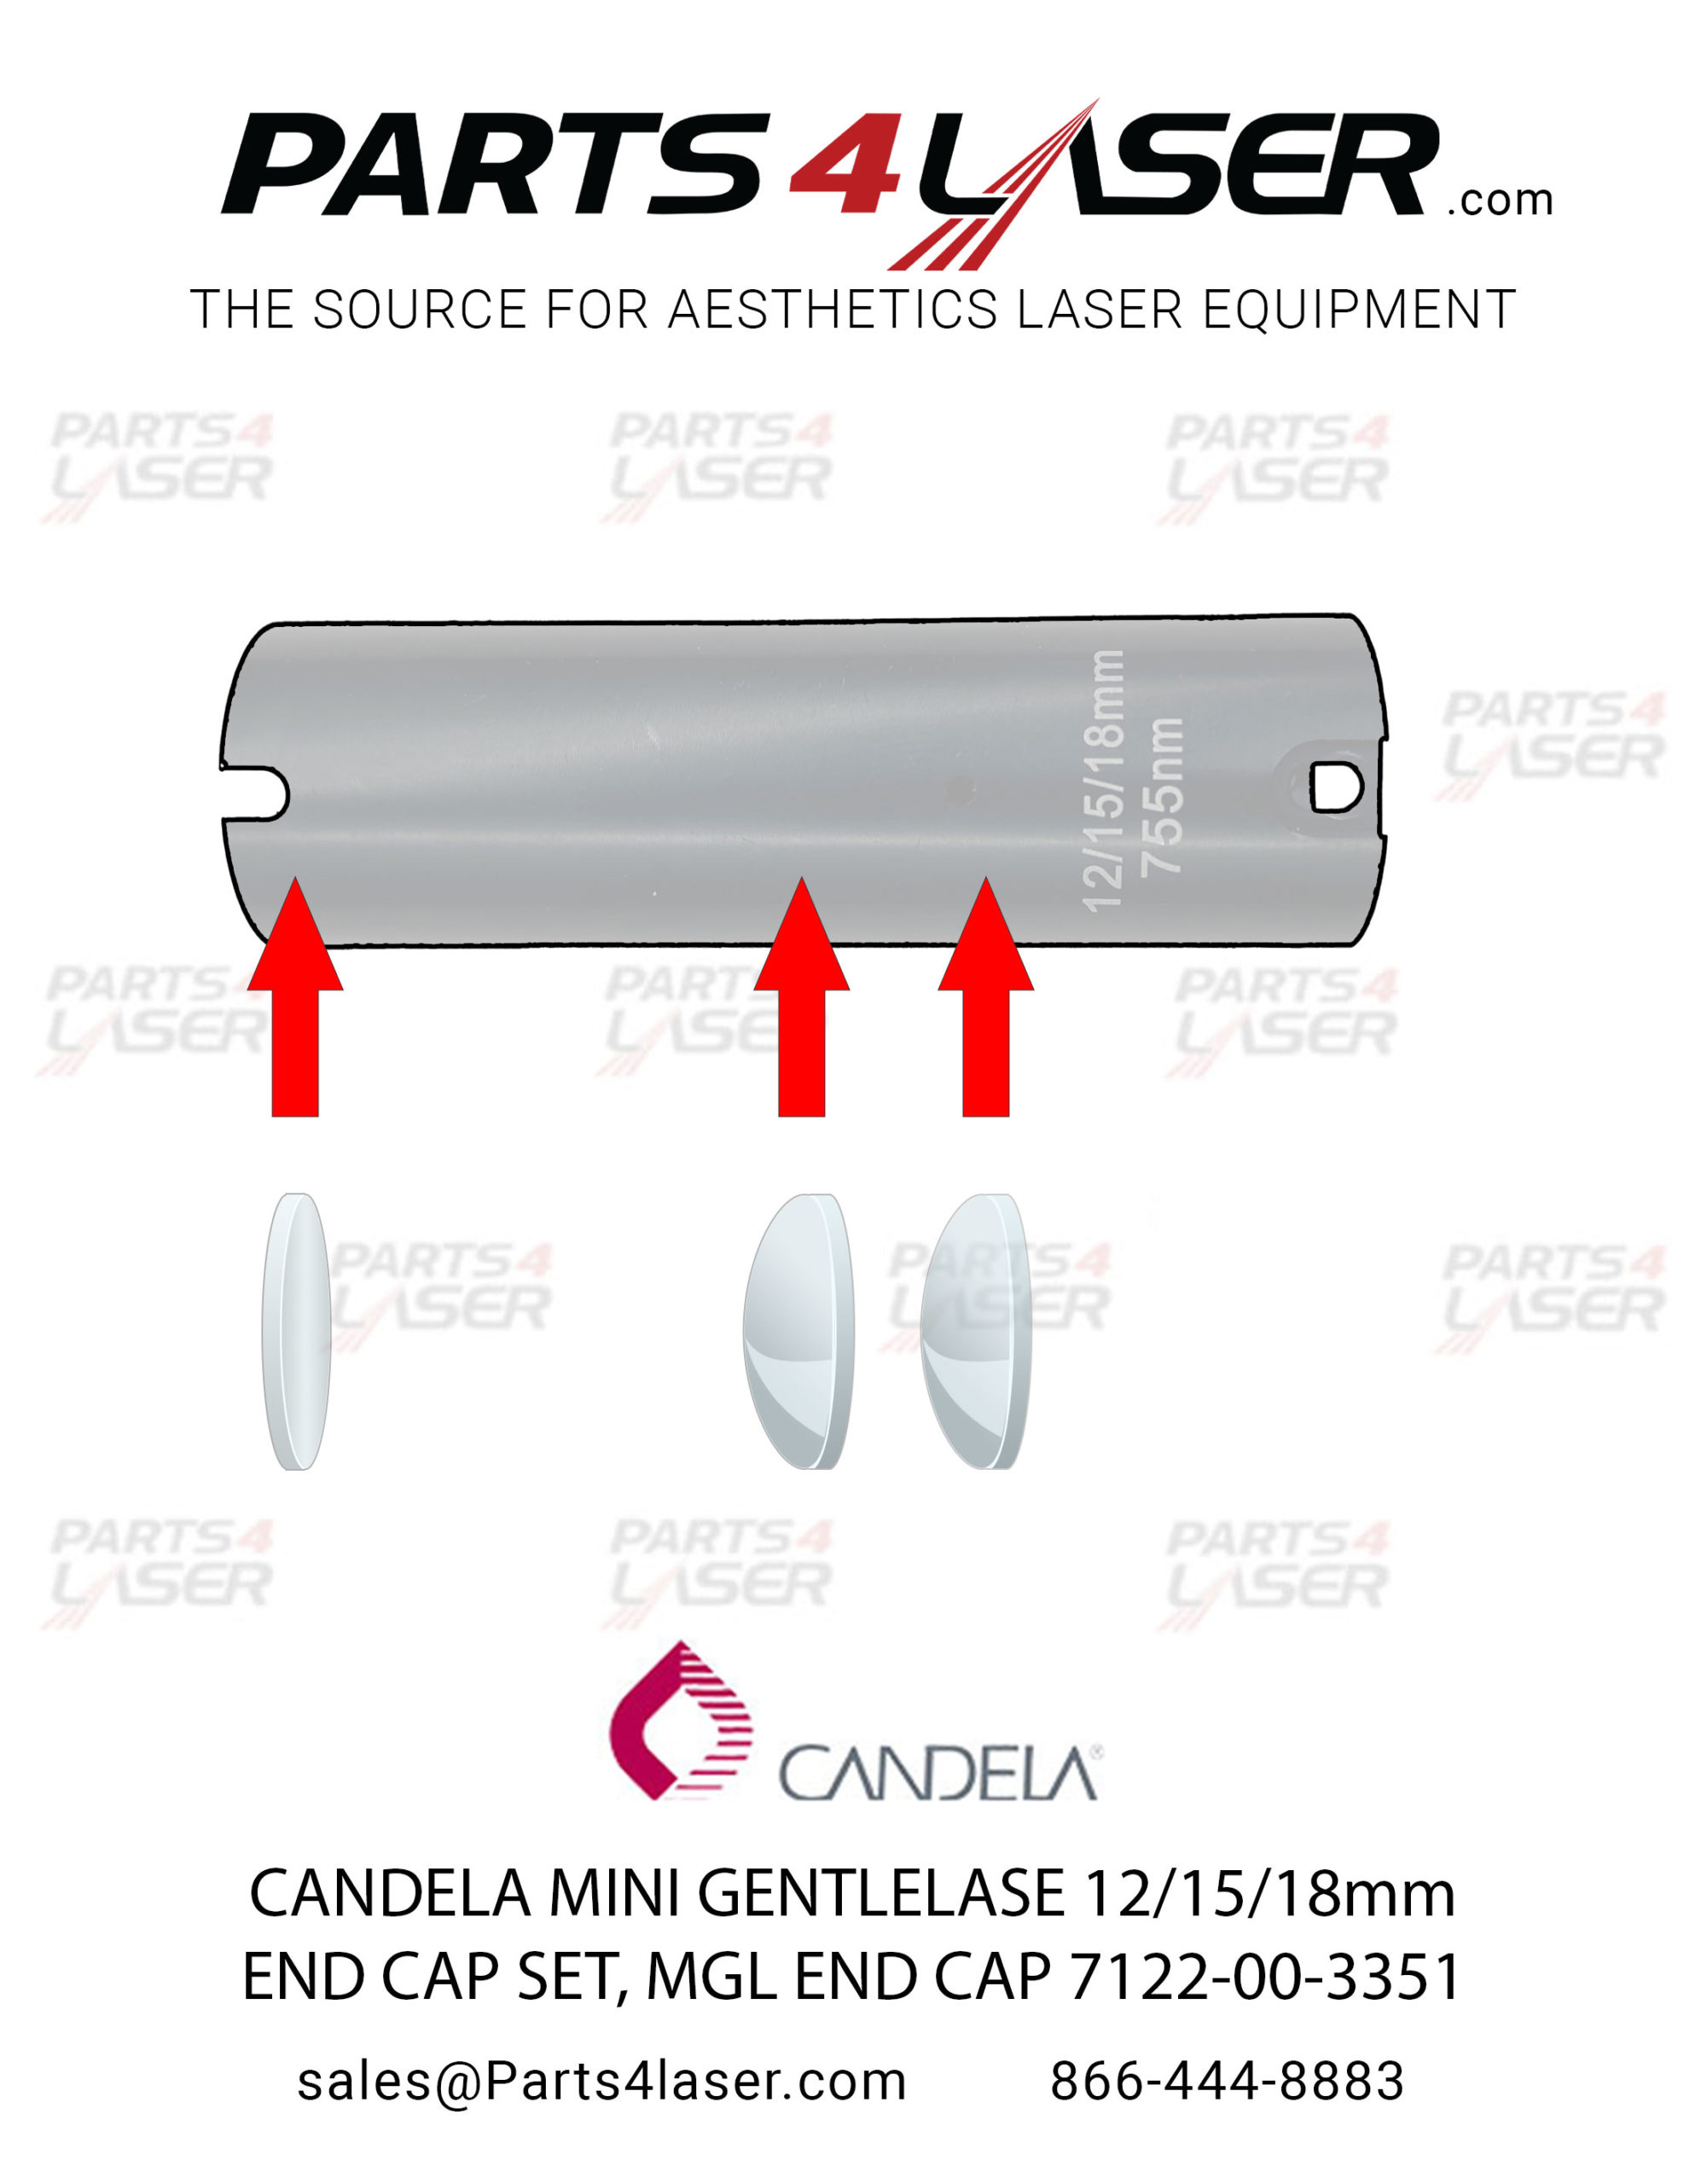
This items include only a set of 2 focus lens for the end cap
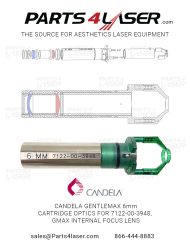
CAOP1431
This item includes the end cap with two brand new focus lens and new window.
- These end cap come with new focus lenses per manufacturer’s specifications.
- If your old end cap starts to show some burn spot on the optics, its time to replace your end cap. This will also increase the performance of your delivery system. Bad optics in the end cap can cause low efficiency and in some cases, can cause the fiber optic cable to burn out.
- This end cap will only fit 12/15/18 delivery system for Mini GentleLase.
HANDPIECE LENS REPLACEMENT END CAP
NOTE: Exercise extreme care. Cleanliness of optics is essential. Refer to
Service Procedure 8503-01-0060 for optic cleanliness. Refer to drawing 7121-99-
6980, 7121-99-7240, 7121-00-3350, or 7121-00-3351 for specific details.
1. Remove Fiber assembly from Delivery System and laser. Place on an open flat
surface.
2. Remove the screw (or screws, some have 2) that secure the handpiece lens cap at
the distal end of the fiber assembly. Pay attention to the component order when
disassembling.
3. Remove both optics, o-rings and the one spacer from the handpiece lens cap:
· Pry out first lens with an Exacto knife or turn barrel upside down and tap on a
table to dislodge the lens.
· Pry out the first o-ring.
· Remove spacer.
· Push out the second lens.
1. Inspect the o-rings. If cracked or defective, discard and replace. If o-rings need to be
cleaned, use only Propanol, lens tissue, and/or cotton swabs. If possible, blow off
with filtered compressed air / nitrogen.
2. Re assemble per drawing 7121-99-6980, 7121-99-7240, 7121-00-3350, or 7121-00-
3351 – Fiber Assembly as follows:
3. Install the first o-ring only (the o-ring closest to the end without the holes) into the lens
cap and fully seat the o-ring into the o-ring groove. Clean lenses if needed per
procedure mentioned above. Also inspect and clean spacer, if needed, with propanol
or methanol. When satisfied that the lenses and spacer are clean, blow off each item
with filtered compressed air / nitrogen, if available.
4. Position the distal end of the fiber facing up. Carefully stack the two lenses with the
spacer in between them onto the distal end of the fiber. Lens orientation is “belly-tobelly” per drawing 7121-99-6980, 7121-99-7240 or both flat sides toward fiber per
drawing 7121-00-3350, and 7121-00-3351. Insert the lenses and spacer into the lens
cap. Once the lenses are fully inside the cap, gently tap the side of the cap to
properly set the lenses against the spacer. Continue inserting the lenses until they
stop, which indicates the first lens has reached the first o-ring. Slowly push the cap
against the distal end of the fiber to push the first lens passed the first o-ring. While
holding the distal end of the fiber face up, carefully remove the cap from the fiber. Be
careful, the second lens and possibly the spacer may come out!!
5. Re-install the spacer, if necessary, and install the second o-ring into the groove
above the spacer. Position the second lens onto the distal end of the fiber (facing up,
convex side up) and insert it into the cap, again pushing after it stops to push the
GentleLASE Handpiece Lens Replacement Procedure Candela Corporation
Page 4 of 4 PROPRIETARY 8503-01-0600, Revision C
second lens past the second o-ring. Remove the cap to verify that the lens does not
come out, indicating proper lens seating. When shaken, a lens cap with properly
seated lenses will not rattle.
6. When satisfied that the lenses are installed properly, hold the lens cap vertically (fiber
end facing up) and carefully blow any debris out from the lens barrel using filtered
compressed air / nitrogen (at low pressure, if available). Visually inspect lenses for
acceptability. Continue when satisfied.
7. Holding the lens cap assembly vertically, slide the distal end of the fiber assembly all
the way into the lens cap until the fiber assembly butts up against the lens inside the
lens cap. Make sure the gap between the end of the lens cap and the shoulder on the
distal end of the fiber assembly is between .025” and .035”.
8. Firmly, but gently, hold these parts together and secure with screw (or screws).
Parts4laser is not affiliated, associated, authorized, endorsed by, or in any way officially connected with Syneron & Candela their affiliates. Any logos and trademarks of third parties that may be found on our website are registered trademarks of their respective owners. The use of any trademark is for identification and reference purposes only and does not imply any association with the trademark holder.